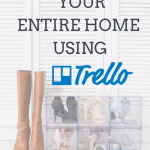
If you are overwhelmed by a messy home and short on time, breaking the chore of organizing down into manageable tasks is a lifesaver. If you organize with Trello it becomes possible to clean your home by keeping track of all your “to-do” items, resources, products, and deadlines.
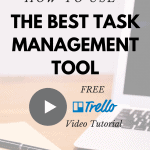
This post is a step-by-step tutorial demonstrating how to organize with Trello, which is a task management tool that will help you schedule and complete all the steps in your organizing project.
If you prefer to watch my YouTube video on this topic, check that out below. My video goes in-depth and provides examples of exactly how to use the free version of Trello. Otherwise, keep scrolling to read on!
What is the difference between a Task and a Project?
A manageable task is one that you can accomplish in less than 30 minutes. For example “organize your bedroom” is a project, not a task. Tasks for this project may include: wash dirty clothes, move paperwork to the office, sort books, and toss cosmetics that are more than one year old.
If you want to see big progress towards getting your bedroom organized this week, pick one task to accomplish each night.
Don’t plan on “organizing your closet this weekend,” instead, plan on accomplishing 3 to 5 small steps this week that will help you work towards your goal.
To organize your closet you may have tasks like sort through summer tops, eliminate clothes that do not fit, and drop off unwanted clothes at the thrift store. A digital task management tool like Trello will help you stay on track even if you can only dedicate 30 minutes towards decluttering and organizing per day.
If you are following my Home Organizing Roadmap, breaking down your project into bite-size tasks is step number 3 of the 6 steps. To get the roadmap, click the photo below. It’s free!

1. Create a Trello Board
First things first, sign up for the free version of Trello (you can get the link here).
Once you get signed up, create a board and title it: Get Organized!
This board is going to be the canvas for all of your to-do items. I also like to change the background photo of the board. Trello comes with a bunch of fun photos preloaded on the site. Choose one that you enjoy and let’s get going!
The next step to organize with Trello is to create a few different lists by selecting “Add a List”. In total, you want to create the following lists:
- Organizing Projects
- Tasks
- Monday
- Tuesday
- Wednesday
- Thursday
- Friday
- Saturday
- Sunday
The days of the week act as a calendar. I’ll explain more how to use this in step 4.
Recommended: How to Downsize a Home in 5 Days
2. Create a List of Projects
When you have your lists created (projects, tasks, and days of the week), it’s time to add content.
The next step to organize with Trello is to set up project lists.
Under “Organizing Projects”, create a project by selecting “add a card”. For this example, our project is going to be: Organize Master Bedroom Closet.
When that’s done, you have your first project created!
![OrgaNice Hourglass Sand Timer - 30 Minute & 5 Minute Timer Set - Improve Productivity & Achieve Goals - Stay Focused & Be More Efficient - Time Management Tool - [Gift-Ready Packaging]](https://m.media-amazon.com/images/I/41Qbz0Y7S8L._SL160_.jpg)

3. Add Cards + Checklists
Under organizing projects, select “Add a Card” and title it. I titled my first card “Organize Master Bedroom Closet”.
Then, double-click on the card to open up more info. Inside the card, click checklist on the right side to add a checklist. I left the title as ‘checklist’, but feel free to give it a fun title.
From there, add all of the tasks you need to complete to organize the master bedroom closet.
Some examples of items could include:
- Try on clothes for the best fit
- Take clothes to a charity thrift shop
- Buy matching hangers
- Rehang clothes using the backwards hanger method
- Sort clothes by color
- Hang clothes by length
If you want to reorder your checklist, just click and drag the item to where you want it to go. For example, I would probably take clothes to a thift shop last and therefore would drag that to the end of the checklist.
When that’s done, close out the card.

4. Map Out Your Organizing Calendar
Next, drag your checklist to the day of the week that you want to do the items (now it makes sense why I had you add the days of the week!). This is where you also do some time blocking.
You can all add in how long you want to take on your checklist based on your availability. For example, do you want to spend 1 hour? 30 minutes? 5 minutes? You will need to put this checklist on an appropriate day of the week based on your time availability.
Recommended: How to Set Up and Organize your Home Office
5. Create a List of Tasks
Another step to take in order to organize with Tello is to add individual tasks under the “Tasks” card. This is a good time to break down the project lists even further.
Some examples can include:
- Get a label maker
- Buy hangers
- Hang clothes by color
- Try on summer tops
- Try on jeans
- Sort through accessories
- Sort shoes
Once you have your list of tasks, go ahead and move individual tasks to the days of the week on your calendar.
For example, maybe on Monday you just have 30 minutes so you put “try on clothes” on Monday. On Wednesday, you can add “sort thought shoes” and on Saturday you can “sort through accessories”.
The nice thing about setting up your week this way is that you can adjust as you go along. If you get busy on Monday and don’t get to your task, you can simply move it to your next available time slot.
Once you accomplish a task, right click on the task and select “archive”. Boom. Done!
6. Final Steps on How To Organize With Trello
When you are done with items on your checklist, make sure you mark them completed. When you are completely done with all the items on your board, you can archive your board.
Good luck getting organized with your Trello board!
Are you about to organize your ENTIRE home? Check out the video below that talks about 6 steps to get started on your home organizing journey. Trust me, you won’t want to miss this.
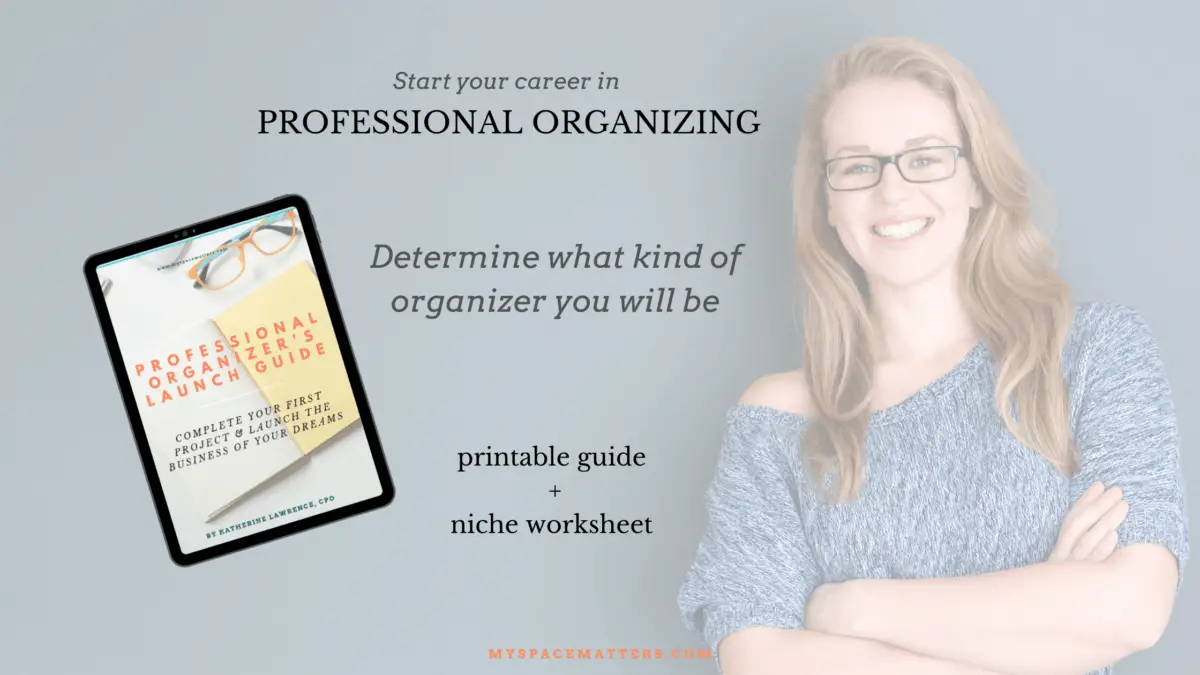
ARE YOU INTERESTED IN BECOMING A PROFESSIONAL ORGANIZER?
If you’re someone who LOVES organizing, consider starting your own organizing business
Get a copy of my free guide “Professional Organizer’s Launch Guide” HERE.
There are many things to consider when starting an organizing business including:
- When will I name my business?
- Where will I find clients?
- How do I become an organizer?
- Do I need to be certified to get started?
- How will I structure my business?
You have come to the right place!
When you are ready to start your own professional organizing business, check out all my courses on working as a home organizer. My course bundle has the best prices on courses so that you can create and market your organizing business and design a system of organization that will work with all your clients no matter how small or large their volume of clutter is! Check out the course bundle here: Online Boot-Camp for Organizing Bosses
You can also check out my other blogs on how to start a home organizing business:
- How to Start a Professional Organizing Business in 2021
- The Ultimate Reading List for (wannabe) Certified Professional Organizers
- How to Create a Name for your Organizing Business
- 7 Ways to Get Clients for your Professional Organizing Business